 Building
a Saber for the Dark Side
Building
a Saber for the Dark Side
by David Meyer
If you've ever been in a Sharper Image, you've probably seen the slick prop
reproductions of Luke Skywalker's and Darth Vader's lightsabers put out by
ICONS. And, if you are like me, you probably didn't want to shell out $300 or
more for them. When I found out that many Star Wars props were built using found
objects, I had to try to find the parts and make my own.
When Star Wars first hit the theaters in the summer of 1977, one of the
things that stunned the audience was the incredible special effects -- effects
like no one had ever seen at that time. What made this even more amazing was the
low budget that George Lucas was given to film his blockbuster. Given the budget
he had, he didn't have the luxury of having props machined from scratch. Indeed,
his clever staff was able to find commonplace items and turn them into
convincing weapons and tools from a galaxy far, far way.
This article focuses on one such weapon - Darth Vader's lightsaber. It is
intended to be a "how-to" piece, describing the steps to creating a
convincing replica of the preferred weapon of Lord Vader. Throughout the
article, I list places where you can find some of the pieces necessary to
complete this project. Note that I have no affiliation of the places I mention
in this article. I note them for your convenience.
You may have seen "officially licensed" prop replica lightsabers in
The Sharper Image or other stores. While those sabers are very nice
reproductions, they are machined rather than built from found objects.
Completing this project will yield a more "authentic", and thus more
satisfying, replica than the machined reproductions put out by ICONS.
Background on the Lightsaber
In the first Star Wars movie, Darth Vader's lightsaber had at least 3
variations. There were props that hung from the belt of Darth Vader as well as
props used for the combat scene with Ben Kenobi.
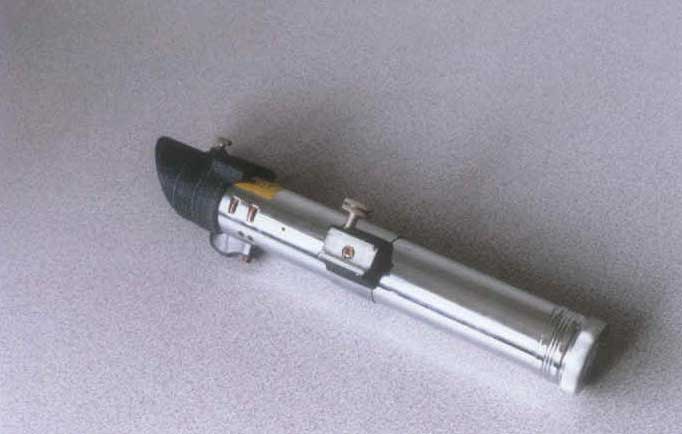
The 2 variations seen hanging from Lord Vader's belt were based upon Heiland
Synchronar and Heiland 3-cell flash tubes. These flashes were used in 1940's
press cameras. If you look in movies with press photographers of that period,
you will likely see a Heiland or a Graflex flash clamped to one or both sides of
their cameras.
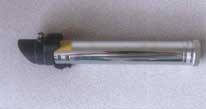 (fig. 1 - Heiland 3-cell flash)
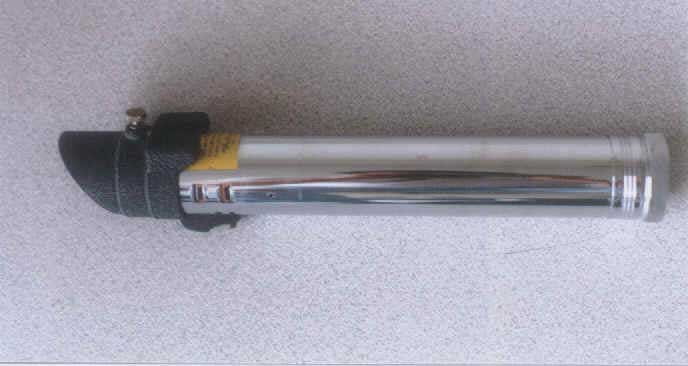
Both flashes hold 3 D-cells and look almost exactly alike. The main difference
is that the rectangular slots on the side of the Synchronar have rounded corners
and the slots on the Heiland 3-cell have sharp corners. Another difference is
in the head of the flash. In the 3-cell, there is a spring that juts out, whereas
the Synchronar has a black spring-loaded plastic piece with a small hex nut
holding it in place.
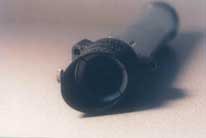
(Head of Heiland 3-cell flash. Note the spring in the head of the flash.)
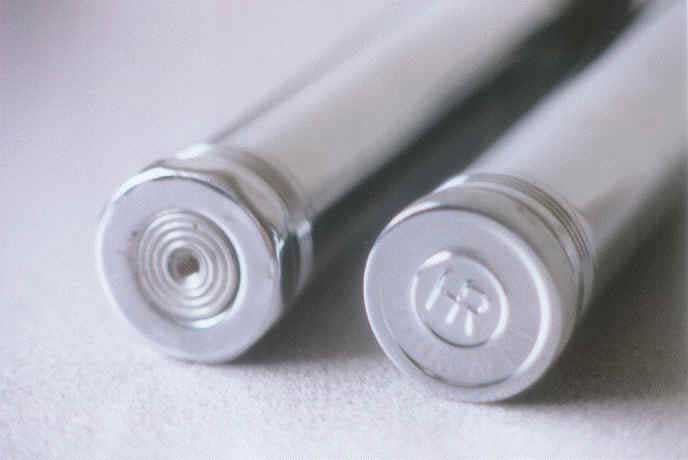
One other variation is the screw-on end cap. One flash has an octagonal end
cap while the other one has a knurled end cap. Since I've seen Heiland flashes
(Synchronars and 3-cells) with both styles of end caps, I don't consider one
more "authentic" than the other. Either flash can be used to build
a Darth Vader lightsaber and still be considered authentic. If you've seen the
ICONS replica, you'll see that they use the Synchronar-style head and the knurled
end cap. If you've seen the pictures in The Star Wars Chronicles, you'll see
pictures of a Synchronar with the knurled end cap as well.
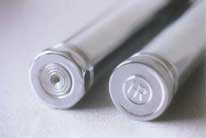 (
fig. 3 - Two variations of the end caps from Heiland flashes: octagonal, left,
and knurled, right.)
(
fig. 3 - Two variations of the end caps from Heiland flashes: octagonal, left,
and knurled, right.)